App Service for Container
建立 App service for Container 的時候,部署裡面選不到 Github Actions
所以這邊筆記下從 Github Actions 部署到 Azure App Service for Container 的步驟。
官方文件
建立 Azure Container Registry
登入 Azure Portal,搜尋 Container Registry 來建立 ACR。
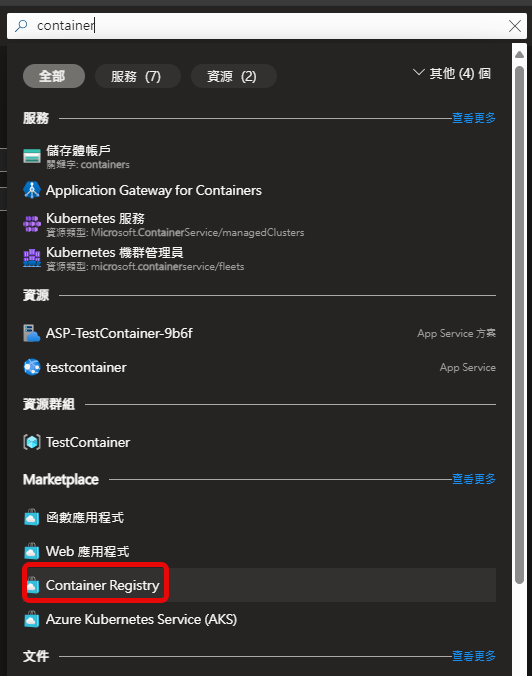
建立好後可以啟用管理使用者
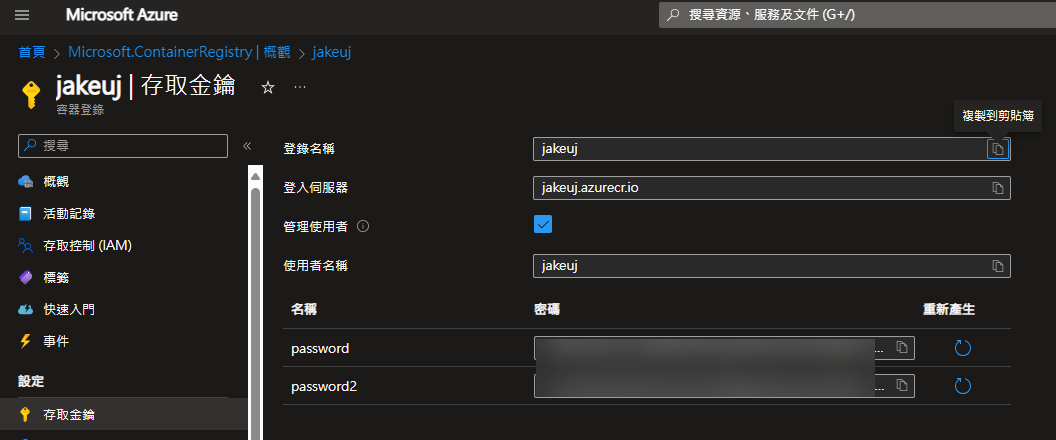
需要時可以用這組帳號密碼來連到 ACR Docker-Registry-settings
另外可以到識別裡面啟用系統指派的受控識別
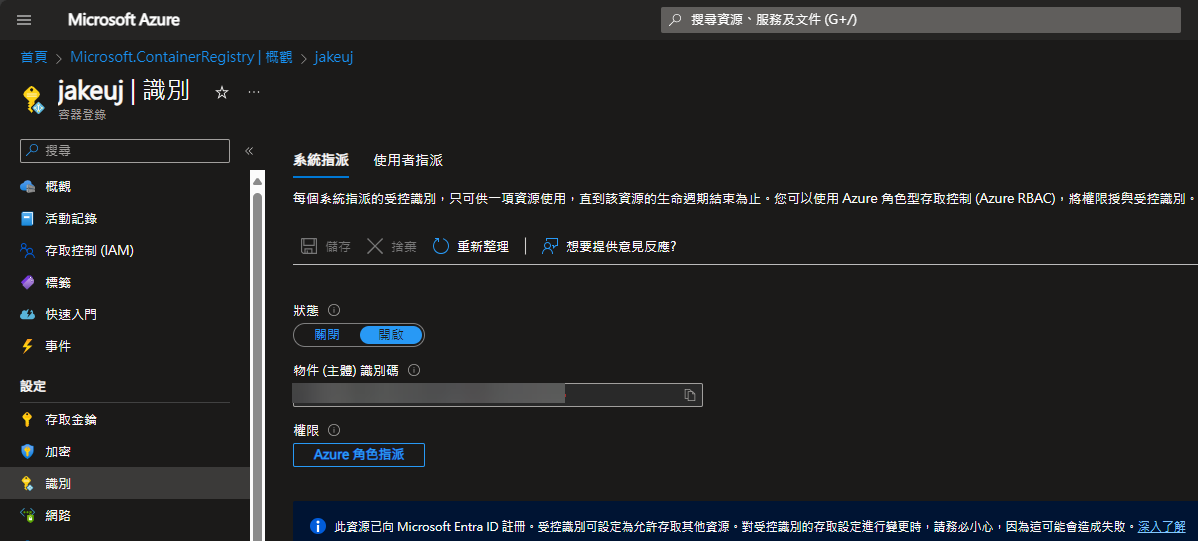
這樣就可以在 Github Actions 中使用這個識別來推送鏡像
建立 Azure App Service for Container
登入 Azure Portal,搜尋 App Service 來建立 App Service for Container。
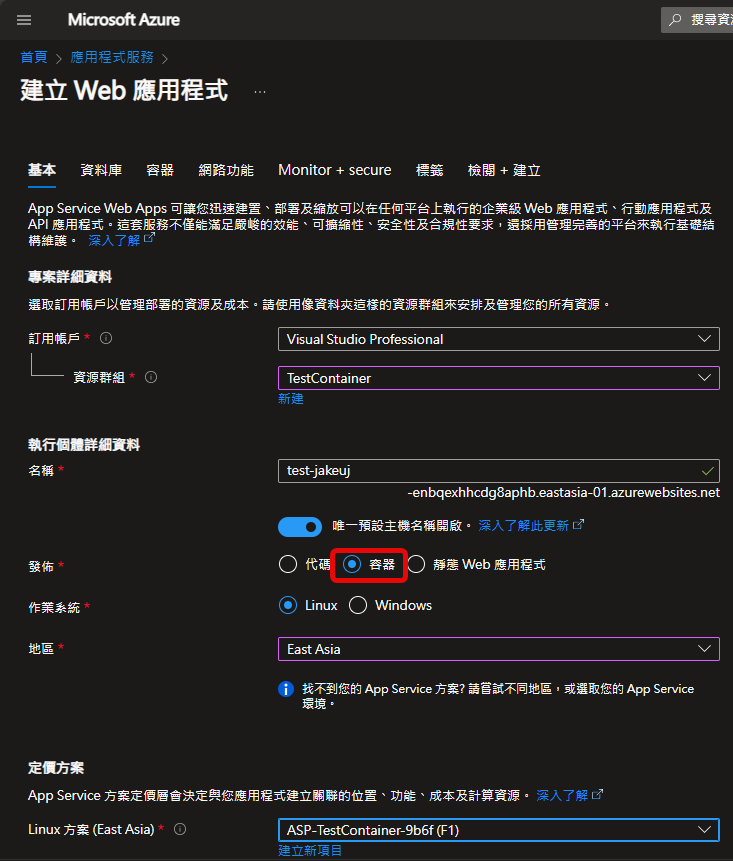
在容器選擇部分沒有 Github 相關選項,所以先選快速入門

建好之後再來到部署中心,選擇 Github Actions
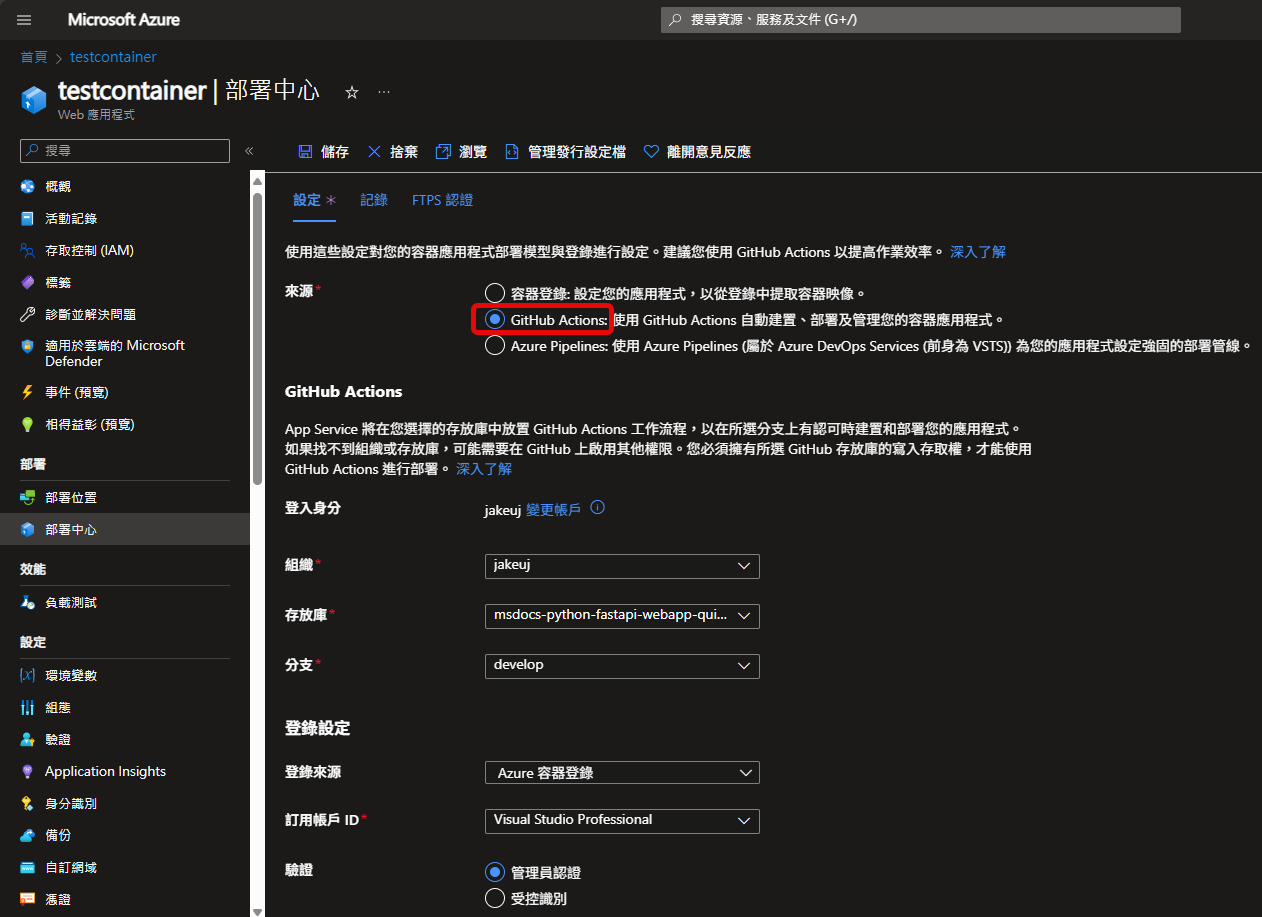
Registry 選擇剛剛建立的 ACR,如果有警告應該是要回去 ACR 設定管理帳號或識別之類的
啟動命令
-k uvicorn.workers.UvicornWorker 指定了使用 Uvicorn 工作者,
-w 4 表示使用 4 個工作者,
-b 0.0.0.0:3100 指定綁定的地址和端口,
main:app 是您的 FastAPI 應用所在的模組和應用實例名,
--chdir src 表示是 main.py 所在目錄位於 src 資料夾下。
寫錯可能會遇到錯誤
這種情況通常發生在使用 Gunicorn 部署 FastAPI 應用時,
因為 Gunicorn 預設使用的是 WSGI 工作者,而 FastAPI 是一個 ASGI 應用,
兩者在處理請求時有一些差異。您需要確保 Gunicorn 使用適當的工作者來處理 ASGI 應用。
Log
如果有需要可以設定 Log
where-can-i-find-docker-container-logs-for-azure-app-service
Github Actions
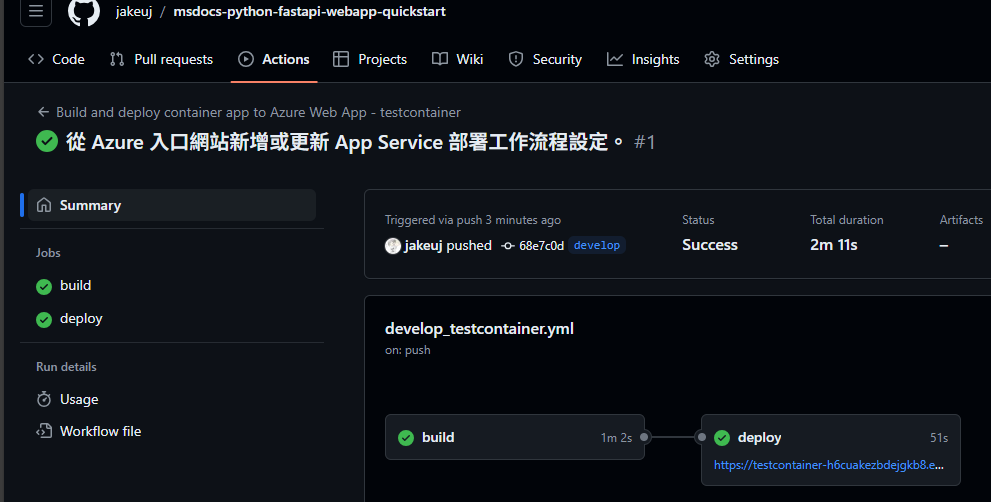
到 Github repo 裡的 Action 應該就會看到部署的流程
Jetbrains IDEs
如果是用 Jetbrains IDEs 的話,推送後可以看到 Action 狀態

結果
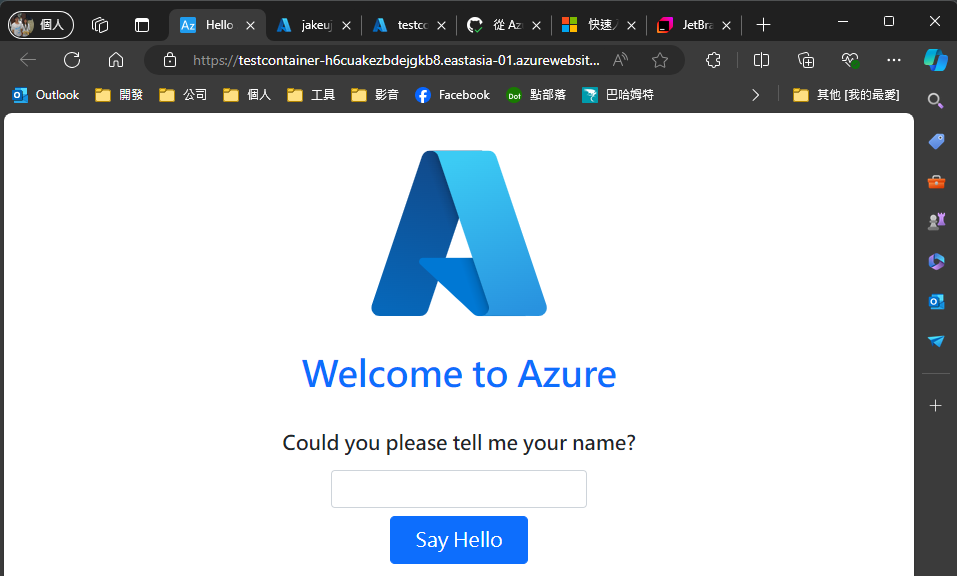
最後打開 Azure App Service for Container 的 URL 就可以看到部署的網站
